Kit 19 - Valve Gear
2 posters
Page 1 of 1
 Kit 19 - Valve Gear
As with many of my posts, this is really for new builders who may glean a couple of tips from the experience that I gain whilst doing the job. The small bushes must be able to go into the holes without too much pressure, before you apply the bearing grade glue. If they don’t then you can get a situation where you get the bush part way in and then it won’t go in fully… or be able to come out. I pressed mine in carefully between the jaws of my vice.
I recommend assembling it all on the bench before attaching it to the engine… make sure all the pins can go through cleanly - there may well be some burrs inside the bushes where the oil holes were drilled. You only need to remove one taper pin to get the weighshaft through the bracket… Don’t whack the taper pin back fully tight just yet - you never know if you will need to remove it for some reason.
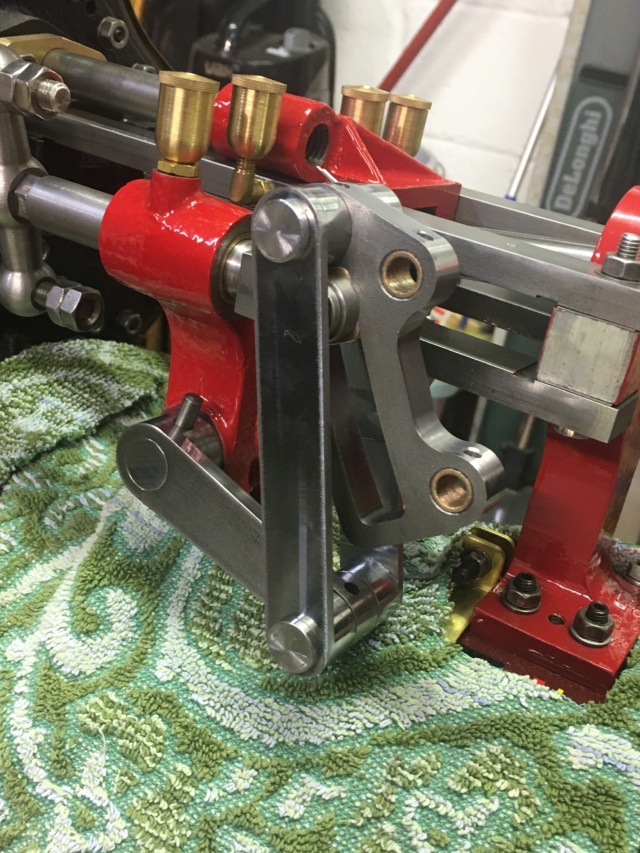
I recommend assembling it all on the bench before attaching it to the engine… make sure all the pins can go through cleanly - there may well be some burrs inside the bushes where the oil holes were drilled. You only need to remove one taper pin to get the weighshaft through the bracket… Don’t whack the taper pin back fully tight just yet - you never know if you will need to remove it for some reason.

milford59- Number of posts : 307
Location : Milford on Sea
Registration date : 2019-05-19
doug likes this post
 Eccentric straps fitted
I have now fitted the straps to the eccentrics on the crankshaft. I found that I needed to move the LH eccentric right next to the RH eccentric by adjusting the grub screw that locks it onto the crankshaft. Then the rod was nicely aligned for the pin to go through the bush. On one of the bushes, I had not pressed it in quite enough and it was proud by about 0.5mm…. This was enough to prevent the rod fitting so I had to carefully file it flush.
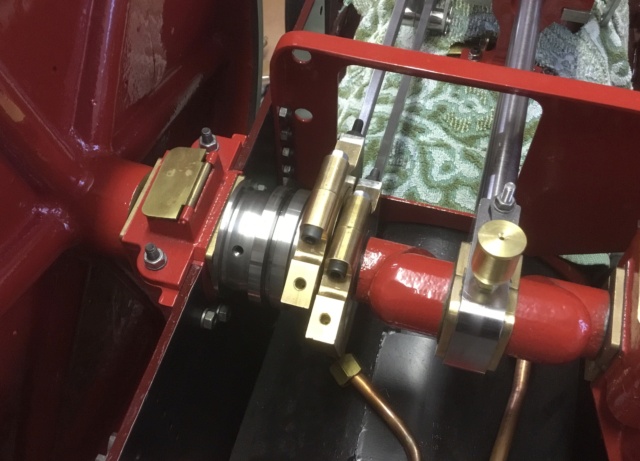
I used the “Timesaver” yellow powder to lap in the straps so that they now run very nicely. I also shimmed all bolts with a 0.2mm shim washer. I was planning to paint all straps red, but the clearance is tight and I am thinking that a few coats of paint will make them rub, so I may leave them like this.

I used the “Timesaver” yellow powder to lap in the straps so that they now run very nicely. I also shimmed all bolts with a 0.2mm shim washer. I was planning to paint all straps red, but the clearance is tight and I am thinking that a few coats of paint will make them rub, so I may leave them like this.
milford59- Number of posts : 307
Location : Milford on Sea
Registration date : 2019-05-19
 Adjusting slide valves
Having attached the rods, I tried the motion by turning the flywheel. I don’t really have a clue what I am expecting here with the movement of the slide valves, but having messed about with the locknuts on the valve rods and the LH screw that goes into the end of the weighshaft, the gap is even on the right hand side of the slide valves when the weighshaft is fully forward……
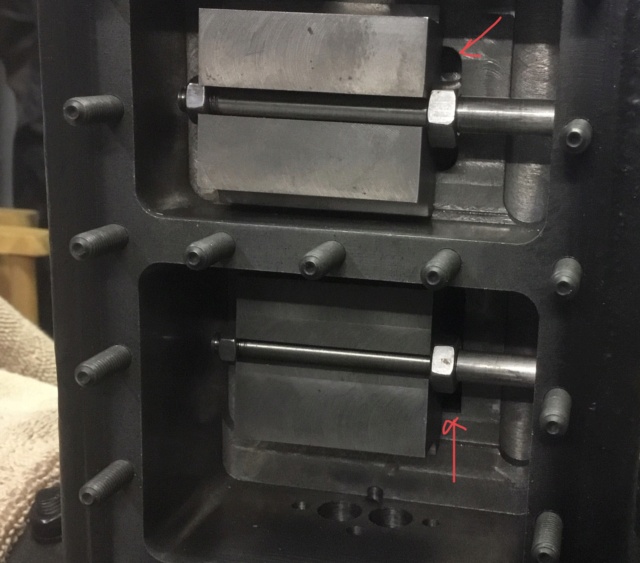
…….and even on the Left hand side of the slide valves when the weighshaft is fully back.

… and this is how the valve rods etc. look.
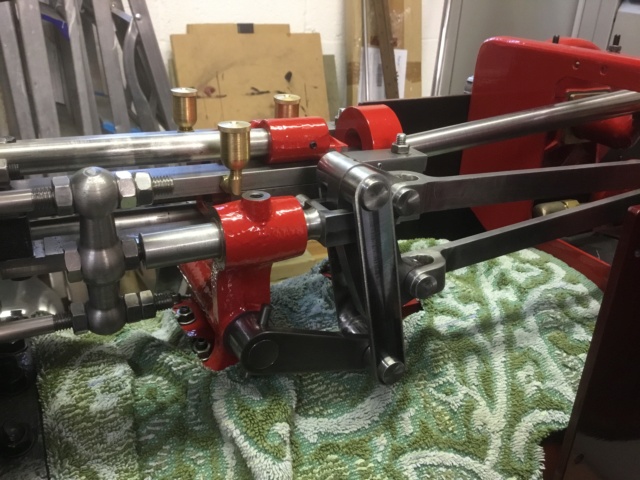
I am sure there must be more to it than what I have done, and maybe the slide valves will have to be fine-tuned later when other items are fitted. If anyone has input or information concerning what I have done so far, or what will be required later, I would be grateful.

…….and even on the Left hand side of the slide valves when the weighshaft is fully back.

… and this is how the valve rods etc. look.

I am sure there must be more to it than what I have done, and maybe the slide valves will have to be fine-tuned later when other items are fitted. If anyone has input or information concerning what I have done so far, or what will be required later, I would be grateful.
milford59- Number of posts : 307
Location : Milford on Sea
Registration date : 2019-05-19
 Re: Kit 19 - Valve Gear
Hi Milford
Until you have fitted the reverser it is not easy to lock the expansion link in its full forward position.
You should have a gap between the die block top and the top of the slot in the link when in the full forward position.
I put a 2mm welding wire in the top and let the expansion link rest on that.
At the stage you are at you should just settle for both valve blocks are free to float in and out with minimal end float
and that they both cover and uncover the ports together.
Simon C

Simon C- Number of posts : 305
Location : Derby
Registration date : 2017-07-07
milford59 likes this post
 Re: Kit 19 - Valve Gear
Thank you very much Simon.
milford59- Number of posts : 307
Location : Milford on Sea
Registration date : 2019-05-19
 Similar topics
» Lynn Robinson. Showman Scenic
» Valve Gear Correction
» Valve gear upgrade
» Valve Gear Problems
» Excessive motion of the valve when in mid gear
» Valve Gear Correction
» Valve gear upgrade
» Valve Gear Problems
» Excessive motion of the valve when in mid gear
Page 1 of 1
Permissions in this forum:
You cannot reply to topics in this forum