Diary for RL "Giuseppina"
4 posters
Page 1 of 1
 Diary for RL "Giuseppina"
Dear forum members and interestet parties
work on the new Burrell DCC road loco modell has allready begun. I placed my order a few month ago and the frist kit has arrived in two boxes. But nice one by one: My name's Marco, live in Switzerland, i'm 35 jears old and a steam enthusiast. Please forgive if creep write errors into my diary records . (It's googles fault, not mine
  )
)
Begun with cutting beams, see fotos below:

and so on
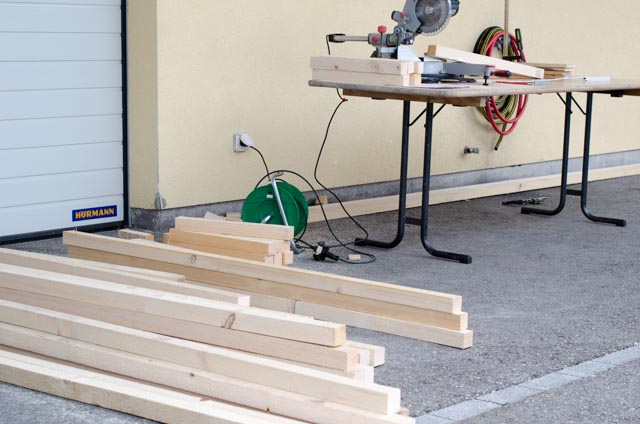
counted: started with ten fingers, ended with the same amount and leght of fingers..

hopefully counted and measured correctly - two times cut off and still too short
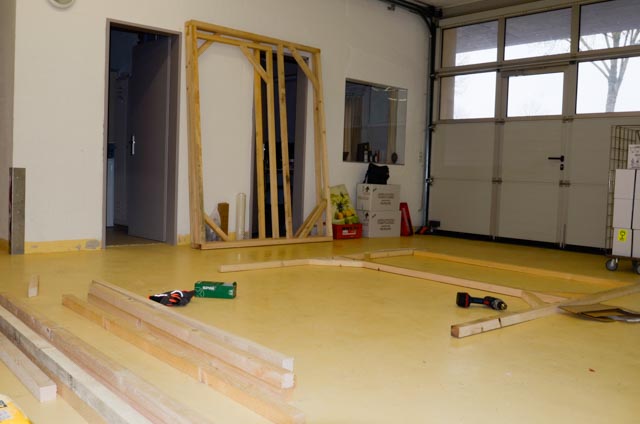
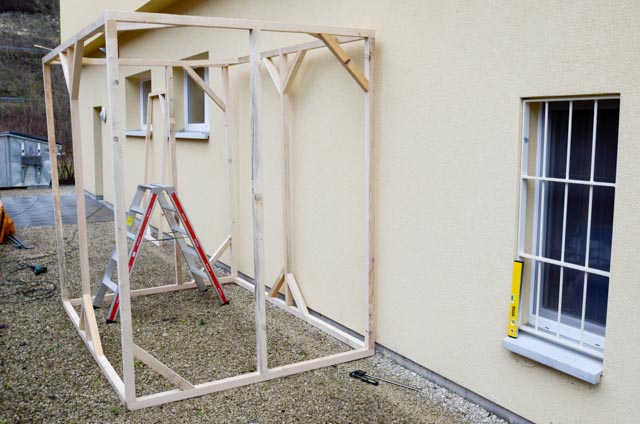
slowly created something

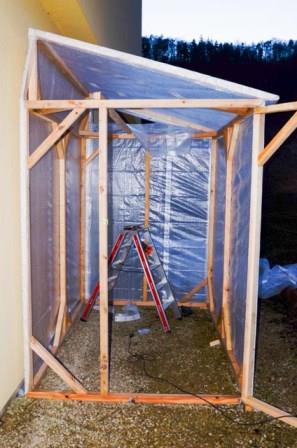
Time is running..
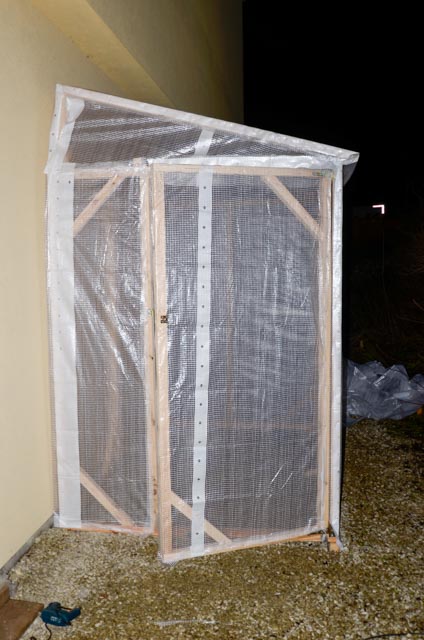
In this spray booth i'll paint all the parts. With that cabine all painted parts can dry with ease and without contact from dust and fingertips..
Hope you've enjoy the first record, others will follow - surely some questions too.
work on the new Burrell DCC road loco modell has allready begun. I placed my order a few month ago and the frist kit has arrived in two boxes. But nice one by one: My name's Marco, live in Switzerland, i'm 35 jears old and a steam enthusiast. Please forgive if creep write errors into my diary records
Begun with cutting beams, see fotos below:

and so on

counted: started with ten fingers, ended with the same amount and leght of fingers..

hopefully counted and measured correctly - two times cut off and still too short


slowly created something


Time is running..

In this spray booth i'll paint all the parts. With that cabine all painted parts can dry with ease and without contact from dust and fingertips..
Hope you've enjoy the first record, others will follow - surely some questions too.
Last edited by pemco on Tue 10 Mar 2015, 8:02 pm; edited 1 time in total (Reason for editing : correct some mistakes in writing)
 Re: Diary for RL "Giuseppina"
herzlich willkommen und genießen Sie Ihren Build
lynnr- Number of posts : 3242
Age : 56
Location : Highland, 4inch showman
Registration date : 2010-08-06
 Re: Diary for RL "Giuseppina"
Hi Marco
I see your not far from where I go to work sometimes, Tiengen just across the border in Germany. You will have fun on the hills where you live with your engine.
Prost
Brian
I see your not far from where I go to work sometimes, Tiengen just across the border in Germany. You will have fun on the hills where you live with your engine.
Prost
Brian

bjwlancashire- Number of posts : 938
Location : Mellor, Lancashire
Registration date : 2010-09-07
 Start on Kit 1
Dear all
two weeks ago I received a small box from a gentle delivery men. The second box was delivered a few days later. How I can describe my feelings Yupii - lets start whit the built
Here I send some pictures with the progress:
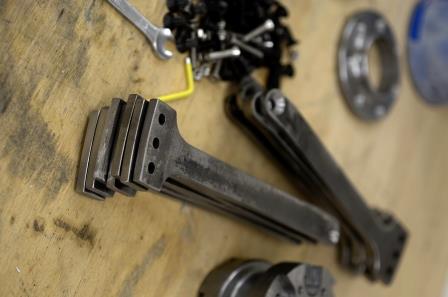
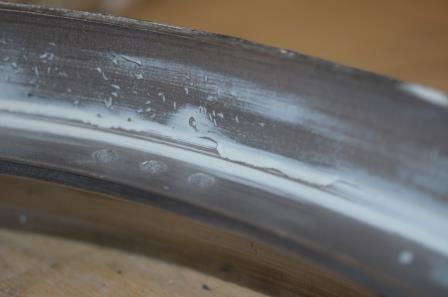
With a angle grinder, wire brush, sandpaper and lapping mat cleaned all production traces.
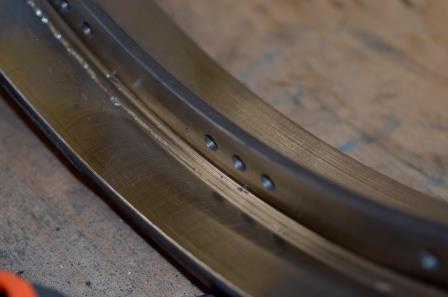
I was doubting: should i grind all the tinder? Tinder seem to be hard enough to be a good surface for the primer paint Is it?

These small defects on the surface have to be rectified with filler.
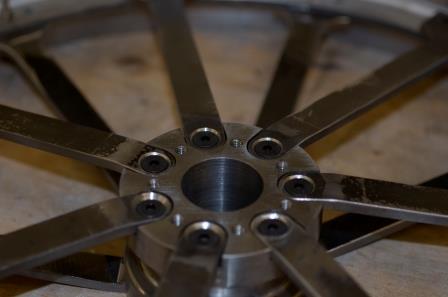
trial assembling - a front wheel takes shape.

@Lynn: oh i'll enjoy every minute of the built - read all about your built --> big compliments!
@Brian: thats about 40 mins. We actualy live in a small "valley" surrounded from small hills. Maybe too steep
kind regards
Marco
two weeks ago I received a small box from a gentle delivery men. The second box was delivered a few days later. How I can describe my feelings
Here I send some pictures with the progress:

With a angle grinder, wire brush, sandpaper and lapping mat cleaned all production traces.

I was doubting: should i grind all the tinder? Tinder seem to be hard enough to be a good surface for the primer paint

These small defects on the surface have to be rectified with filler.

trial assembling - a front wheel takes shape.


@Lynn: oh i'll enjoy every minute of the built - read all about your built --> big compliments!
@Brian: thats about 40 mins. We actualy live in a small "valley" surrounded from small hills. Maybe too steep
kind regards
Marco
 Re: Diary for RL "Giuseppina"
Marco
Don't worry about hills, these engines have lots of power, check out Blackbeard's videos on here, most climbs were in top gear too. Coming down is the more dangerous part but with the right gear selected it is easy. I am more than willing to show you how when your engine is finished.
https://traction.forumotion.com/t1990-leigh-arms-steam-party-4th-5th-october-2014
https://traction.forumotion.com/t1916p15-brian-and-danielle-s-birthday-bash-or-thats-a-big-hill#17129

bjwlancashire- Number of posts : 938
Location : Mellor, Lancashire
Registration date : 2010-09-07
 Addicting movie
Hi Brian
What a great trip/movie. The stomping sound of your Blackbeard is addictive
When my machine is ready we'll climb up the "mills valley", thats next where I live. The vally is at the narrowest point quite deep - the sound echoes incredible..
At the top is a good pub (we say restaurant ;-) )
Cheers, thank you for the links
Marco
 Re: Diary for RL "Giuseppina"
Excellent. When's first steam? Can we come it is only 1200 miles!

lynnr- Number of posts : 3242
Age : 56
Location : Highland, 4inch showman
Registration date : 2010-08-06
 long way ;-9
Hi all
sorry for the absence. Here are a few fotos for the new diary entry. Have fun:

Primer sprayed after deburring and sanding the surface.. and a few pictures more:

This peace is a tricky one - the casting surface is quite rough and contorted. But see yourself


send more soon.
Regards Marco
sorry for the absence. Here are a few fotos for the new diary entry. Have fun:

Primer sprayed after deburring and sanding the surface.. and a few pictures more:

This peace is a tricky one - the casting surface is quite rough and contorted. But see yourself


send more soon.
Regards Marco
 Front wheels
Hi all
a few more pictures about the progress on the front wheels and perch/front axle and spring.
Hope you'll enjoy it.
The white colour layer is primer. This is a "one stop" product: Primer for rostproofing and filling. Comes out with a quite rough surface. This is a good preparation for the next layer of colour. I use a 2K Silicone Enamel product in spray quality. This product is divided into two different products: Undercoat and topcoat.
The undercoat has a higher viscosity than the topcoat. The two layer of undercout (I spray all coats) have a filling function too. So the primer I can use only for anti rost protection.
So and now pictures:

As you see, the undercoat layers are mat, however, the topcoat layer is gloss, even if the original engines were probably not so shiny
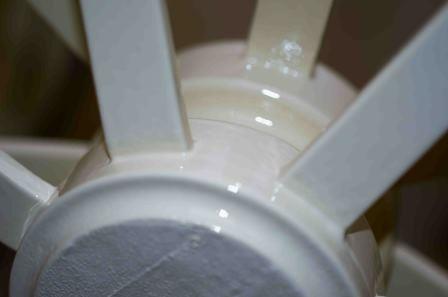
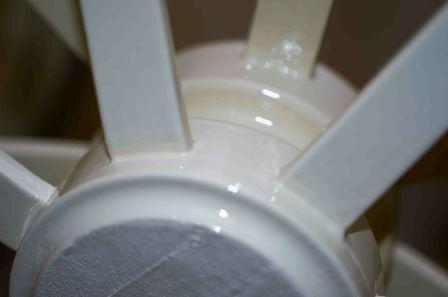
What you see there is the first application of topcoat. Unfotonately, the second went awry I (stupidly) dilute the topcolour..
  , unfortunately, the colour manufacturer senselessly had pointed out on the paint can that the color is ready for use.
The next layer on the wheels, looked like a skin from a 112 year old person..

SANDING
all the best
Marco
a few more pictures about the progress on the front wheels and perch/front axle and spring.
Hope you'll enjoy it.
The white colour layer is primer. This is a "one stop" product: Primer for rostproofing and filling. Comes out with a quite rough surface. This is a good preparation for the next layer of colour. I use a 2K Silicone Enamel product in spray quality. This product is divided into two different products: Undercoat and topcoat.
The undercoat has a higher viscosity than the topcoat. The two layer of undercout (I spray all coats) have a filling function too. So the primer I can use only for anti rost protection.
So and now pictures:

As you see, the undercoat layers are mat, however, the topcoat layer is gloss, even if the original engines were probably not so shiny


What you see there is the first application of topcoat. Unfotonately, the second went awry
 I (stupidly) dilute the topcolour..
 The next layer on the wheels, looked like a skin from a 112 year old person..


SANDING
all the best
Marco
 Lining on Front Wheels
Did some lining on the front wheels. The lines have been drawn with a brush. I did not spray the lines. If I had sprayed them, this meant that I had to cover a lot 
See the pictures
Cover with tape for the lines
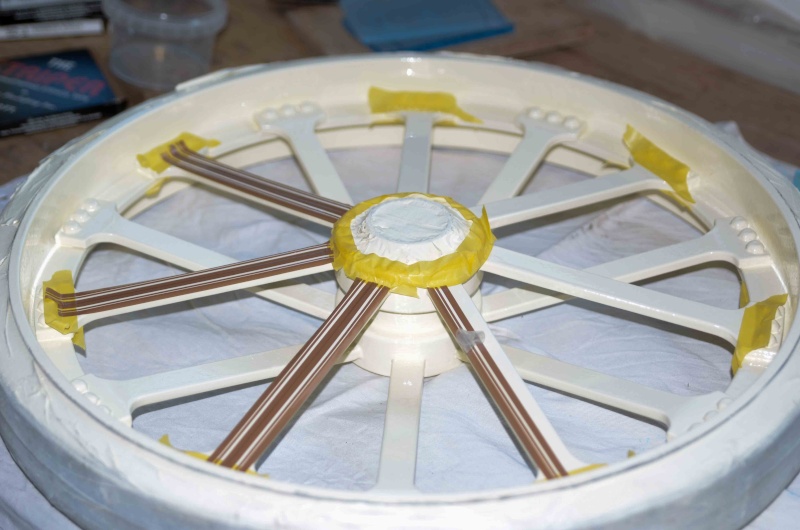
The cover for the lines comes from "pinstripinguk.com" - in Switzerland are this "Finesse Pinstips" not available.

Good product! No. F-54 result
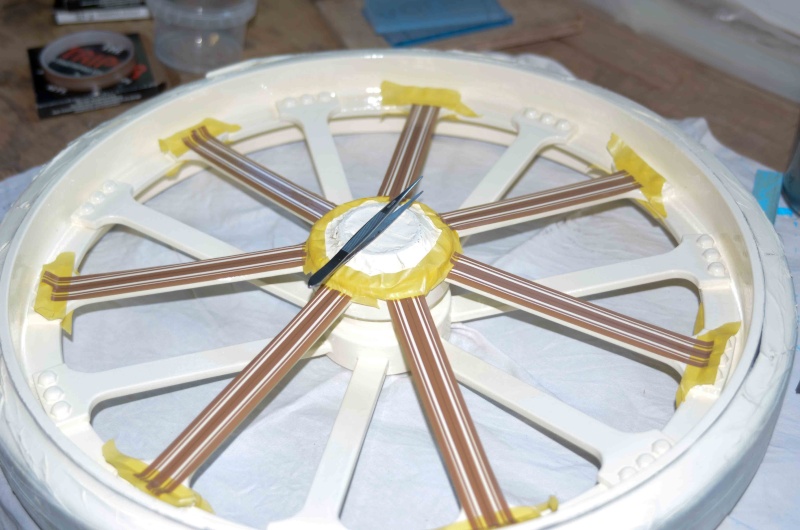

Tweezers is a good instrument to peel of the upper film thanks to that advice somwhere in this forum
Cheers
Marco

See the pictures
Cover with tape for the lines

The cover for the lines comes from "pinstripinguk.com" - in Switzerland are this "Finesse Pinstips" not available.

Good product! No. F-54


Tweezers is a good instrument to peel of the upper film
Cheers
Marco
 Font Wheel
Hello there
front wheel off from any tape.
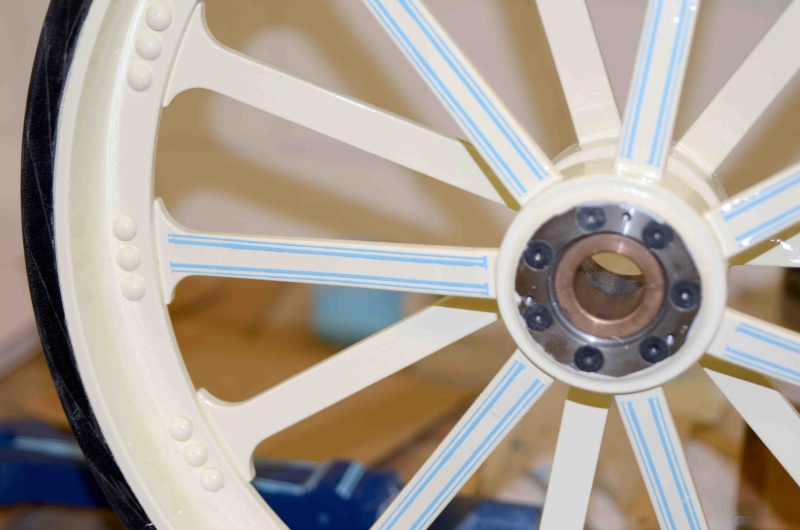

Lined both sides off the wheel out. May someone ask: the inner side of the wheel is out of sight - not necessary to line the spokes YOU ARE RIGHT!
I planed to line the outer side and what did I?
Cheers
Marco
front wheel off from any tape.


Lined both sides off the wheel out. May someone ask: the inner side of the wheel is out of sight - not necessary to line the spokes
I planed to line the outer side and what did I?
Cheers
Marco
 Re: Diary for RL "Giuseppina"
Marco
Fine job so far but your colour scheme intrigues me, what colour is your engine going to be?
regards
Brian
Fine job so far but your colour scheme intrigues me, what colour is your engine going to be?
regards
Brian

bjwlancashire- Number of posts : 938
Location : Mellor, Lancashire
Registration date : 2010-09-07
 Re: Diary for RL "Giuseppina"
Hi Brian
thanks for the words of appreciation
Colour scheme is going to be one "free from a paragon". Inspiration tooked from this i guess unique picture i found on the net.
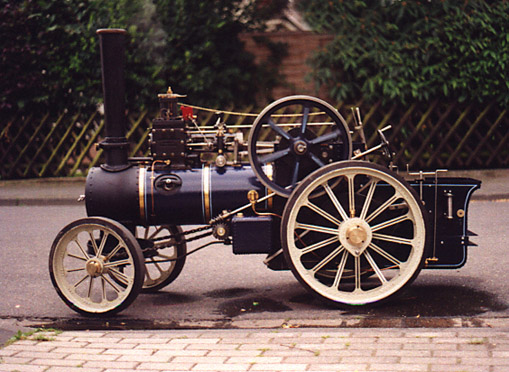
Hope this shows the scheme: Wheels light brown, boiler dark blue, "tecnical parts black, red or polished metal. Lining in light blue and on nice spots with gold leaf.
Does somebody know who's engine that is? Like it a lot
Cheers
Marco
thanks for the words of appreciation
Colour scheme is going to be one "free from a paragon". Inspiration tooked from this i guess unique picture i found on the net.

Hope this shows the scheme: Wheels light brown, boiler dark blue, "tecnical parts black, red or polished metal. Lining in light blue and on nice spots with gold leaf.
Does somebody know who's engine that is? Like it a lot
Cheers
Marco
 Hornplate fit..
Hello Forum
realy hope that you like the dairy enties
Have a question about fitting the housing (Kit10) to the hornplate. Does the housing easily slip into the provided hornplate-opening? Or is it more a press fit
Thanks you in advance for sharing your experience with me
See the situation on the pix below:


realy hope that you like the dairy enties
Have a question about fitting the housing (Kit10) to the hornplate. Does the housing easily slip into the provided hornplate-opening? Or is it more a press fit
Thanks you in advance for sharing your experience with me
See the situation on the pix below:


 Snug fit
You might need to adjust the hole a fraction with a dremel & a sanding drum wheel. Just roll it around evenly until it's a snug fit, you shouldn't have to press it in & also you don't want a loose fit. The laser cutting is pretty acurate but some adjustment is usually necessary to get a good fit. Those little sanding drums are very useful but be careful as they can take away quite a bit of metal sometimes!

Steve Traill- Number of posts : 800
Age : 67
Location : Illogan Redruth Cornwall
Registration date : 2008-06-29
 Re: Diary for RL "Giuseppina"
Yes I concur with Steve. Run round with a rotary sanding drum and get a nice fit.

lynnr- Number of posts : 3242
Age : 56
Location : Highland, 4inch showman
Registration date : 2010-08-06
 Re: Diary for RL "Giuseppina"
Thank you Lynn & Steve 
I'll give a gentle run with a sand drum and check the fit after every turn. Post fotos from the progress on that case.
Greetings
Marco
I'll give a gentle run with a sand drum and check the fit after every turn. Post fotos from the progress on that case.
Greetings
Marco
 Re: Diary for RL "Giuseppina"
Dear Forum
happy new year to all. Hope that the new year will be as good as last year - I'm really happy with the progress on my RL. Thank you, dear STW for your efforts
The fitting of the housing gave me grey hair Thanks to the advice I could continue to work.
On every turn with the drum lapping tool I checket the correct fitting. Once I was very close to an optimal fit, I paint engeneering blue on the inside of the hole on the hornplate

The uncolored spot shows me, where I have to lap a bit more. The fit is now not too close and not too far But see the pictures:

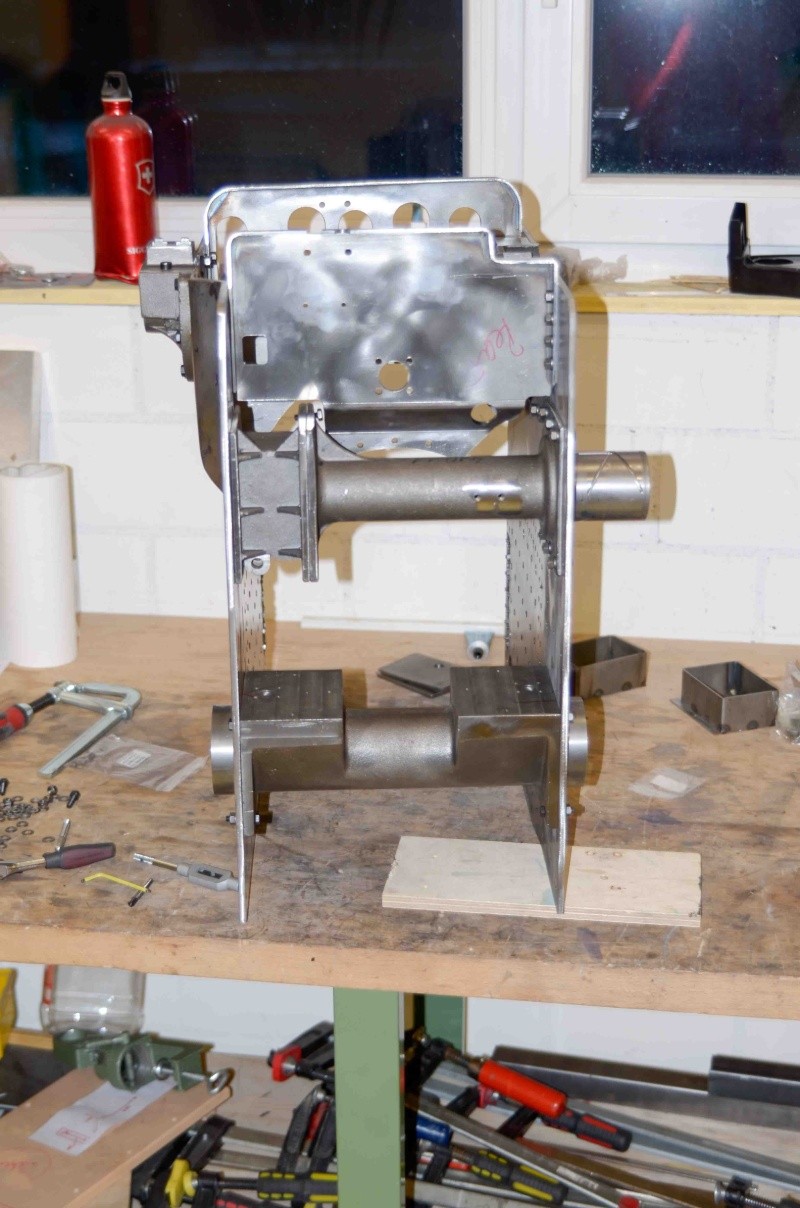


On one thread i have to finish the thread - easely made and the bold find its way
Chears
happy new year
The fitting of the housing gave me grey hair
On every turn with the drum lapping tool I checket the correct fitting. Once I was very close to an optimal fit, I paint engeneering blue on the inside of the hole on the hornplate

The uncolored spot shows me, where I have to lap a bit more. The fit is now not too close and not too far


On one thread i have to finish the thread - easely made
Chears
Page 1 of 1
Permissions in this forum:
You cannot reply to topics in this forum