
Rear wheels made in Duesseldorf
Page 1 of 1

Rear wheels made in Duesseldorf
![]() karl heinz marschner Wed 14 Sep 2022, 6:32 pm
karl heinz marschner Wed 14 Sep 2022, 6:32 pm
Putting together all parts of the rear wheels took me quite some time, but I had no problems with that. I always read the instructions very carefully. But now I have to make a confession: In the instructions it is strongly recommended to "araldite" the gaps between the spokes, the hubs and the rims. I did not do anything like that. It is a tremendous lot of work, only to make sure, that the spokes do not become loose, when you move your finished Burrel over long distances on hard ground. But I am not planning this. When my machine is finished completely, I will heat and steam it up and will test all functions, I just want to know, everything works. After that my Burrel will serve as a show-piece in our entrance hall.
I had already told you, that I had made a grievious decision by ordering the wheel without rubber tyres, I wanted to make an agricultural steam traction engine with strakes on the rear wheels for better grip on soft ground. This meant a lot of additional work for me:
[/list]
The whole procedure took me more than two months. If I had realized in advance, how much labour it would mean, I would probably have ordered the wheels with rubber tyres. But now I am happy with it.
I had already told you, that I had made a grievious decision by ordering the wheel without rubber tyres, I wanted to make an agricultural steam traction engine with strakes on the rear wheels for better grip on soft ground. This meant a lot of additional work for me:
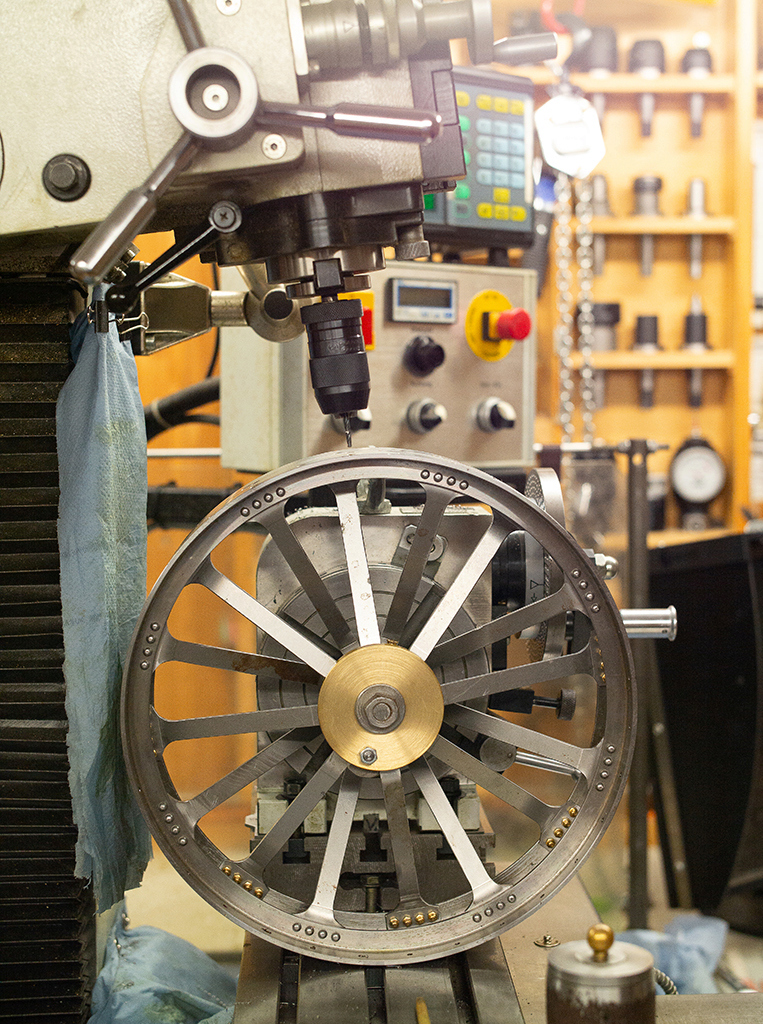
- I had to drill threaded holes into the wheel rims. My milling-machine was a little bit too small for this operation, but with some tricks I could manage it.

- Making the strakes:
32 pcs for the left wheel, 32 pcs for the right wheel. I used steel strip 20 x 2 mm
The strakes did not align with the wheel rims well enough. So I had to make a special forming tool to adjust them

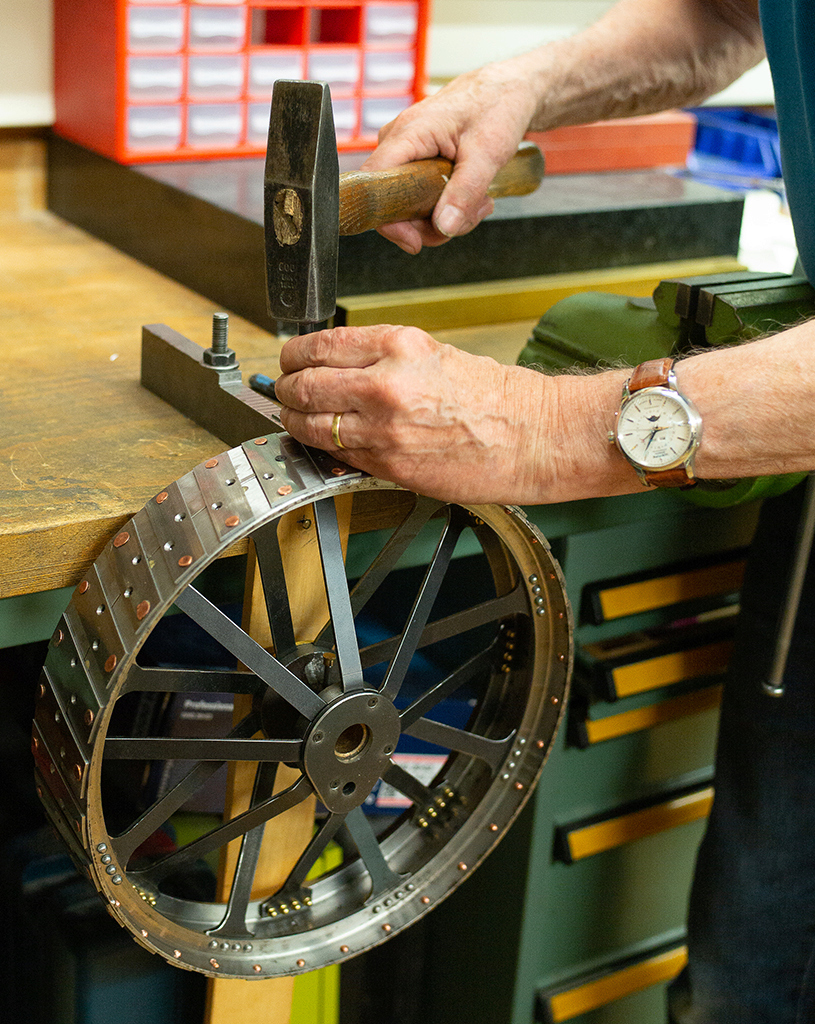
- In the next photo you see the riveting procedure:

[/list]
- I have put rivets at the two sides of the rim. The inner holes got countersunk socket screws, which I removed after setting of the rivets and filled the holes with 2K-copper-repair-paste.
- For the final finish I used a band grinder.
The whole procedure took me more than two months. If I had realized in advance, how much labour it would mean, I would probably have ordered the wheels with rubber tyres. But now I am happy with it.
Last edited by karl heinz marschner on Wed 14 Sep 2022, 7:04 pm; edited 5 times in total (Reason for editing : Spelling error)
karl heinz marschner- Number of posts : 33
Location : Duesseldorf, Germany
Registration date : 2021-04-13
» rear wheels
» Design so far
» Tone's Showmans second lot!
» Lynn Robinson. Showman Scenic
» Foden Rear Wheels
» Design so far
» Tone's Showmans second lot!
» Lynn Robinson. Showman Scenic
» Foden Rear Wheels
Page 1 of 1
Permissions in this forum:
You cannot reply to topics in this forum|
|
|